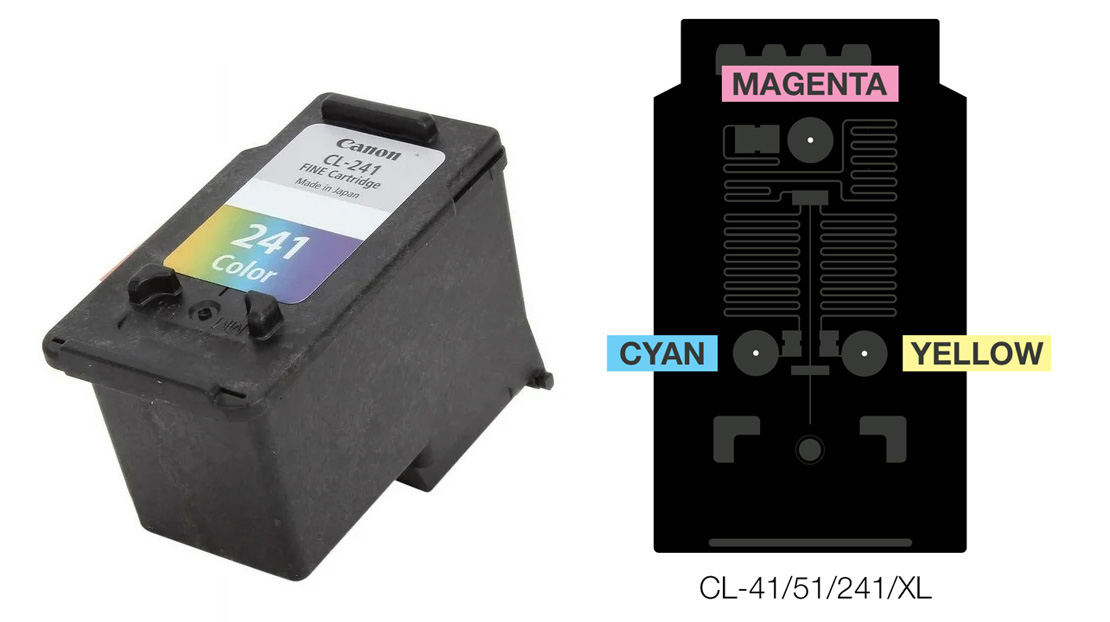
Cartridge:
- Canon CL-41
- Canon CL-51
- Canon CL-241 or CL-241XL
Type: Sponge
Ink Volume:
- Canon CL-41 – 4ml per color
- Canon CL-51 – 4ml per color
- Canon CL-241 – 2.5ml per color
- Canon CL-241XL – 5ml per color
Cartridge Color: Tri-Color (Cyan, Magenta, Yellow)
Materials Required
- Empty or Partially Filled Cartridge
- Cyan, Magenta, Yellow Ink
- Drill Tool
- Disposable Glove
- Paper Towel
- Syringe and Needle
- Printhead Cleaning Wipes
Instructions:
- Before beginning, ensure that the cartridge is refilled on top of a non-absorbent, easy to clean material (like a sink).
- Partially remove the identification label from the top of the cartridge until all the holes are revealed as above.
- Position the included drill tool over the provided air holes (as referenced on the white dots above) as they each lead to three, different ink chambers. Slowly turn the included drill bit tool in a forward and reverse motion until you are able to access the ink reservoir beneath with the provided needle.
- Fill the syringe until full (around 5 mL) though the fill capacity of the cartridge may be lower depending on any remaining ink inside.
- Insert the needle roughly halfway into the hole as shown in the picture reference and slowly inject ink into the cartridge. Pause every few seconds to allow the interior sponge to saturate before proceeding. If ink is close to or overflows, pause, pull the syringe back 1/2 mL and stop.
- Repeat steps 3-5 for the remaining colors.
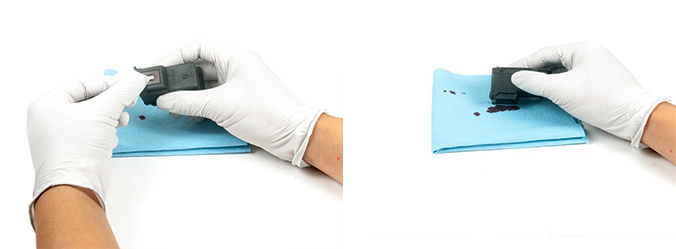
- It is normal for the printhead to drip excess ink for a short time. During this period do not allow the printhead to have direct contact with an absorbent material such as a paper towel as this will cause the cartridge to continue leaking. Wait until the dripping has ceased before dabbing off excess ink from the printhead with a soft cloth or a towel.
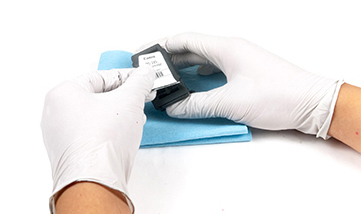
- Use the provided Alcohol Cleaning Wipe to clean the bottom of the cartridge. If you run out of the provided wipes, you may use a damp cotton cloth with water or rubbing alcohol to achieve a similar result.
- Seal the top of the cartridge using the original identification label. Do not cover or block the air hole with tape.
- Insert the cartridge back into the printer. It is normal for the printer to display a low ink notification after the refill process, as this sensor is based on the number of pages printed and not the actual ink capacity of the cartridge. The printer will continue to print normally until an error message appears on your PC (Support Code: 1688) or E16 on the printer’s built-in LCD display, if available. To disable this error code, do not close the window, but head to the printer and disable the monitoring system by holding down the triangle/stop button until the corresponding ink light blinks, and the printer will continue to print.
- Perform a nozzle check pattern to settle the cartridge and test for printing irregularities. Alternatively, you may print a color picture or a black text document to test the color or black cartridge, respectively. It is also recommended to run the Alignment Tool or Cleaning Tool from the printer. Most printers with an LCD display will have this option available in the settings menu. Printers without a display will generally have this setting under Printer Preferences/Settings from the PC/Mac.
- If you are having trouble with the refill kit please refer to our comprehensive troubleshooting guide or contact us by SUBMITTING A TICKET (Click Here).


Note: it is not necessary to insert the entire needle into the cartridge; only enough to reach and saturate the sponge. There are screens and filters on the bottom that may be damaged if inserted in full.


